
Swaddling..My lifesaver and that dreaded startle-reflex’s nightmare. Not only are these breathable, airy blankets perfect for swaddling because they are so large, but they are also ideal for those hot summer evenings when you just need something light. Along with this, they are perfect for using as a nursing cover, car seat cover, or stroller blanket.
Muslin blankets are amazing and I wish I could afford hundreds of them. These blankets are very similar and the best part is that they get softer with every wash, plus they are so easy and inexpensive to make!

What You’ll Need:
2 Yards White Cotton Gauze…I found mine at Joann Fabrics. Never pay full price for it! Use an online coupon or catch it when it’s on sale.
Fabric Dye…Again, if you purchase this at a craft store like Michael’s, Joann’s, or Hobby Lobby use a coupon! You can score at least 40% off.
Yard Stick or Large Paint Stick…Yard sticks work better.
Large Tub..Use for your dye
**Based on what dye you purchase, you may need salt. Follow the dye mixing directions on your packaging for fabrics that are cotton.
Prepping your blanket:
Before dying your blanket, you will need to prep it. Wash it once. Hem all edges with a sewing machine. I simply folded them under, sewed, and then folded them under again, and sewed again. This will leave you with a nice, neat hem.
Time to dye! Mix up your dye following the instructions on your bottle or box. I highly suggest using rubber gloves and doing this outside. I had red hands for days.. Whoops!
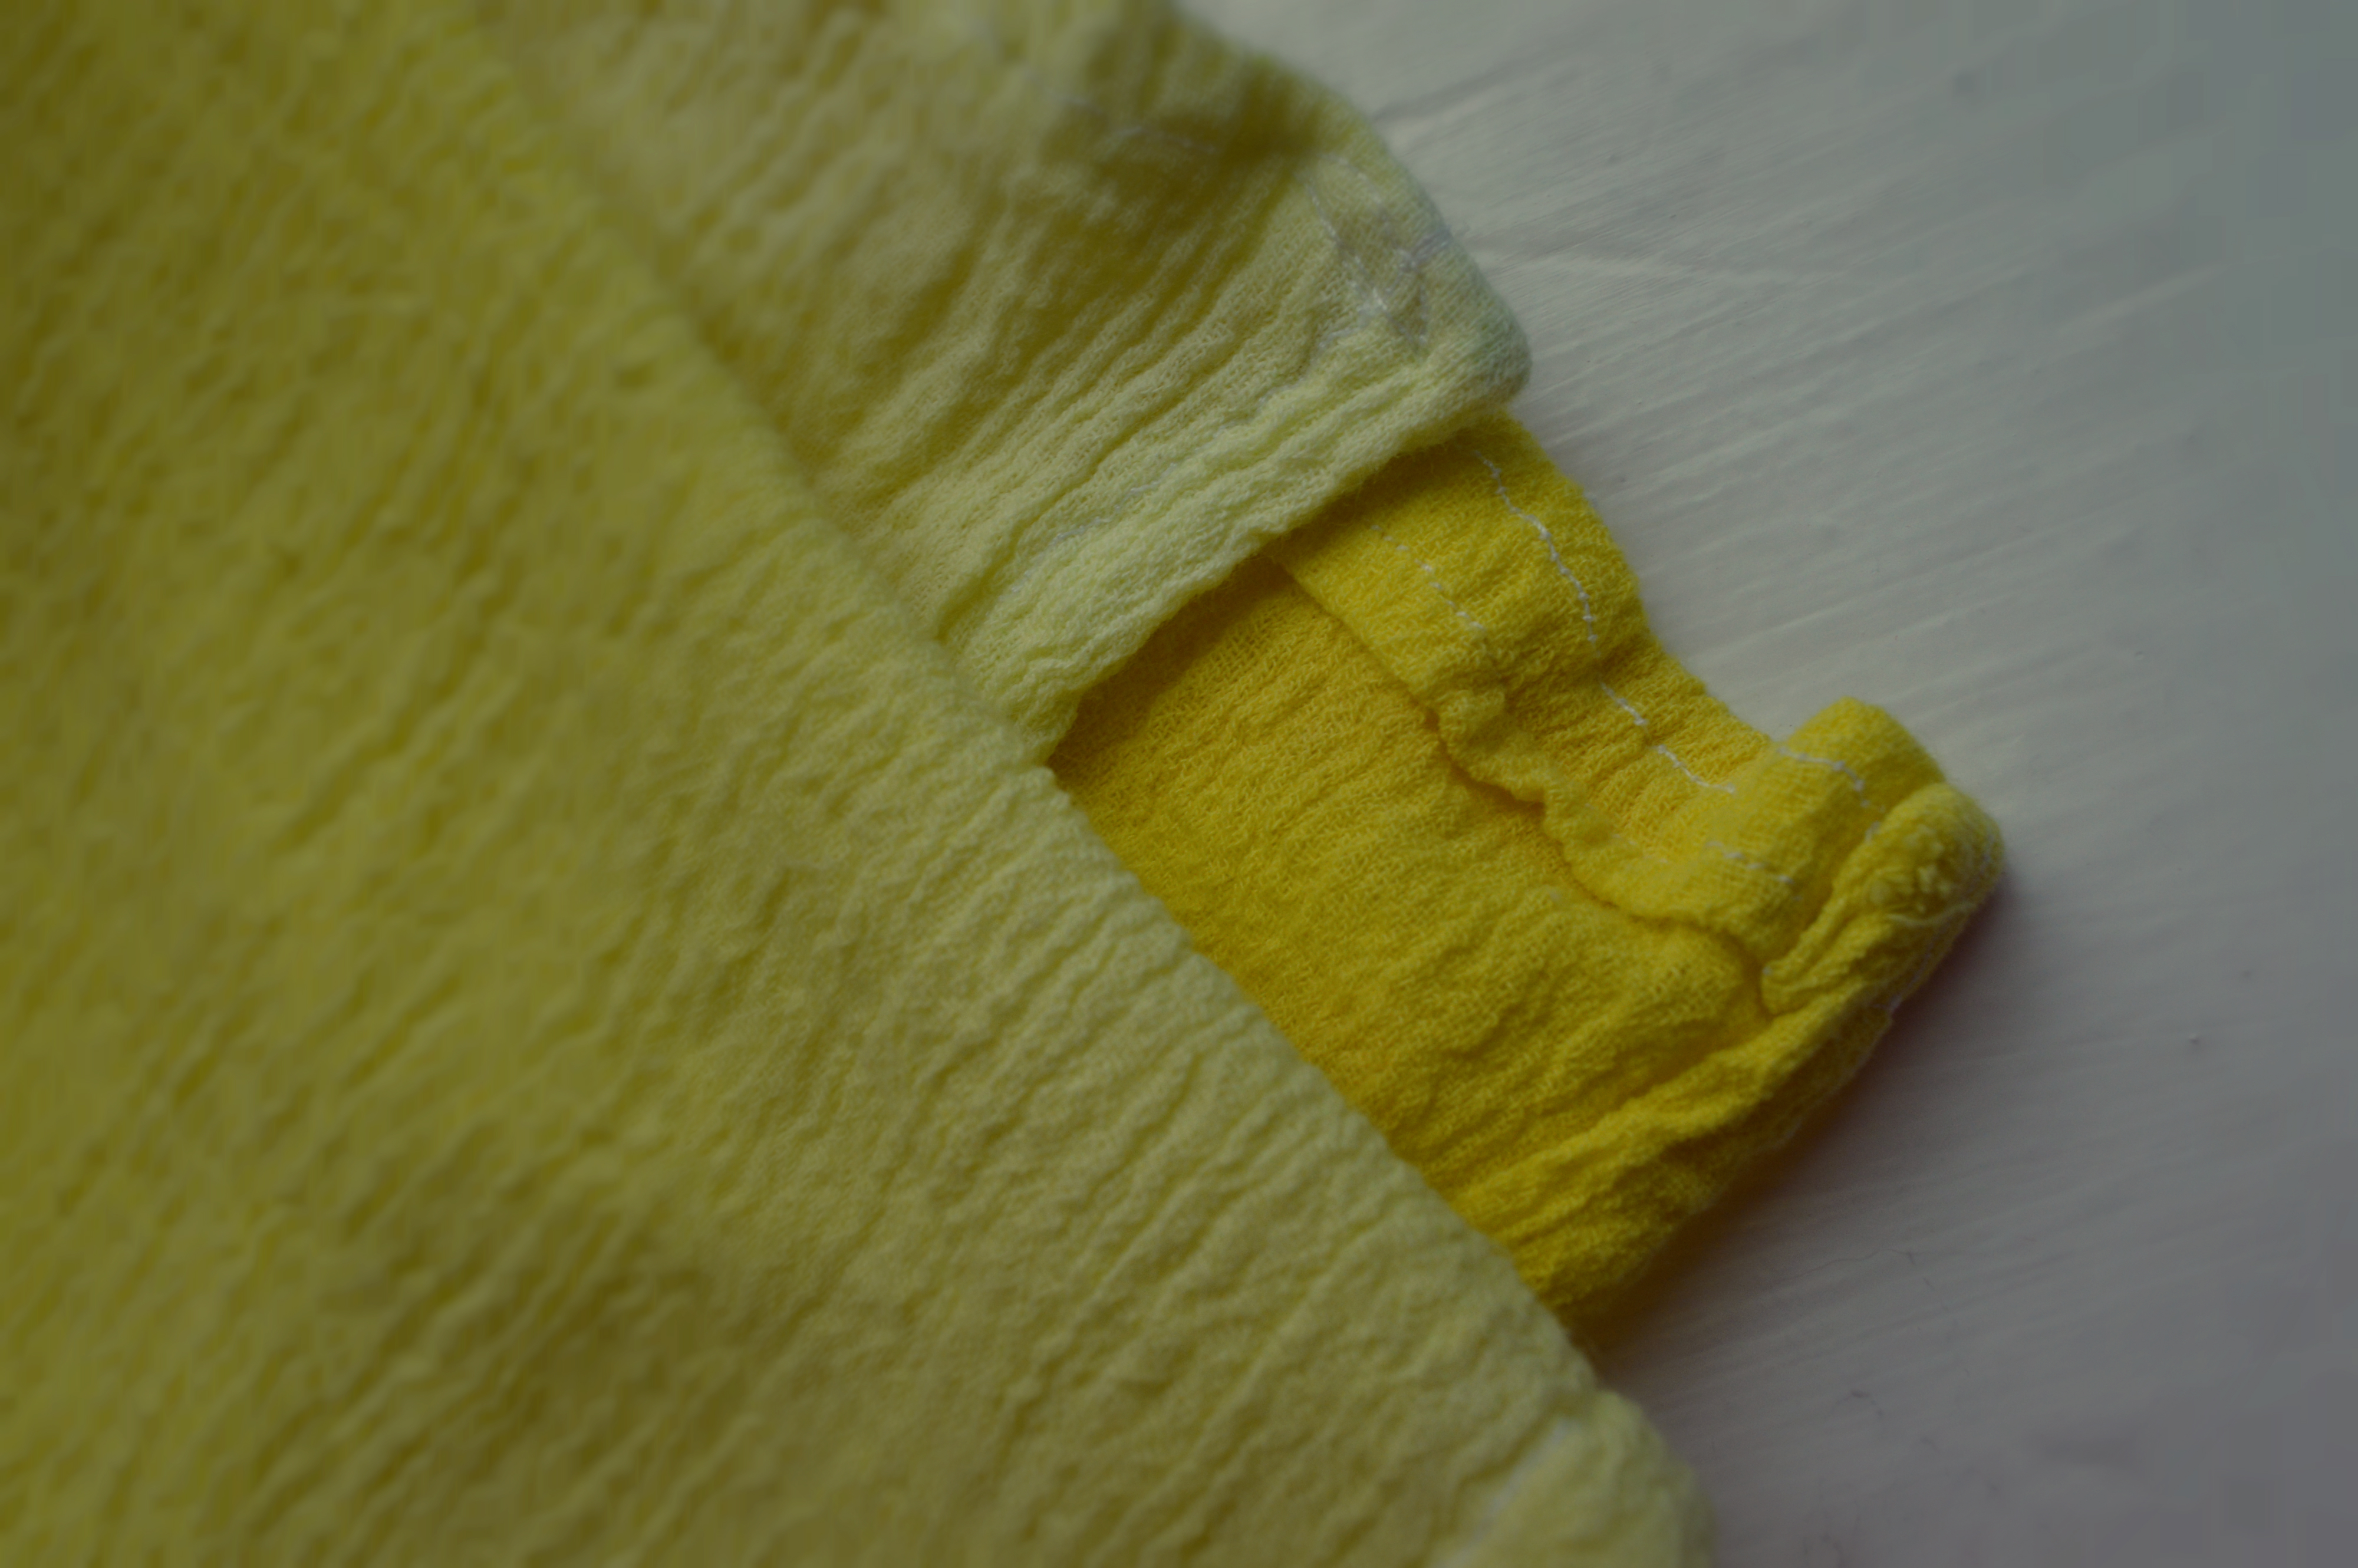
Get your fabric ready! Fold the blanket in half and then fold over a small section on one end.

Then you will just slide the yard stick or paint stick into the folded section, carefully rolling the fabric around the stick, like so…

You should have a portion not rolled up. This will be the first part to be dipped into the dye. Very carefully, place the end into the tub of dye.

Gently sway the fabric around back and forth to avoid a line on the fabric. Keep the fabric in until you have reached your desired darkest shade.

Very carefully roll out another section of fabric. I like to dip this section up and down in the dye to avoid it reaching a shade too dark. Do this until you have reached a lighter, desired shade.

After reaching your “medium” shade, remove the stick from the fabric and grab the top portion that is still white. You will quickly dip this section in and pull it out.Make sure that the dye reached all areas of the fabric and there are no white spots.
Then, take your hand and squeeze out leftover water/dye STARTING at the lightest part and squeezing down until all excess liquid is gone.

Hang to dry. This fabric is super airy so it only takes a couple hours on a sunny day.

WARNING: This will bleed onto other items in the wash so you will need to hand wash/rinse it several times before attempting to put it into a normal load. I would do a test run to be safe.

And there you have it! Chic ombre blankets that are totally customizable. Rit Dye has a gazillion different colors you can create by mixing their standard dyes together. Mint, coral, lavender? FInd more info here. A tie-dye look would be awesome!
I’d love to see your ombre creations!
Enjoy,
Amber

looks great!
http://www.madeinmauve.com
LikeLike
Thank you!! 🙂
LikeLike
love these!!
LikeLike
Thank you!! We love them too! Thanks for stopping by:)
LikeLike